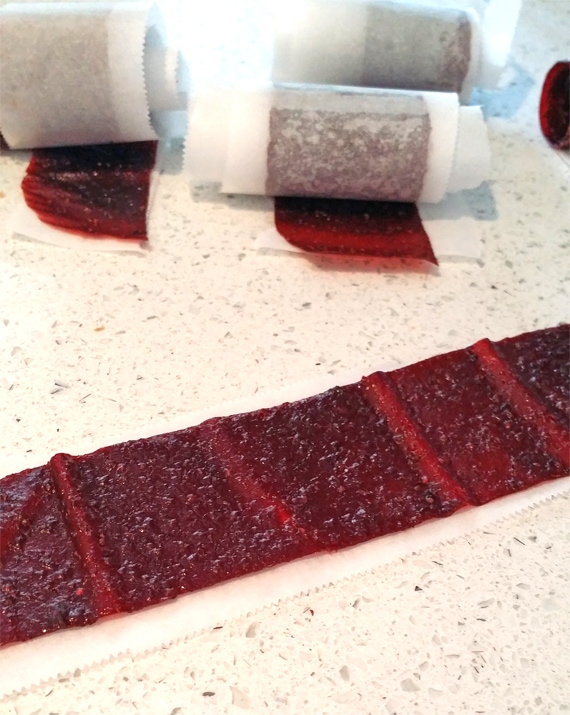
Fruit roll ups, fruit leather, whatever you care to call them, they are delicious! If you’ve never made the homemade version, now is the time to try them! My girls love them, and I love that all they contain is fruit!
I posted about these on my Facebook Page, but thought they also deserved a permanent place on the blog, so here they are!
If you’ve ever taken a peek at the label of fruit rollups at the store, you’ll see they’re more candy than they are real fruit. This homemade version is the perfect substitute, and they are made from fruit only! No high fructose corn syrup or other highly processed sweeteners.
Since this is more of a method, vs. a recipe, all you need are these simple instructions, and you’ll have your own homemade fruit roll ups. No dehydrator required! You use your oven on a low temp to make these. The only caveat is that it just takes a bit of time, but almost all of it is hands off work.
I did these with strawberry, as I had just come back from the farm with a boat load of fresh berries. But you could use almost whatever fruit you wish. Personally, I think that either strawberries, apples, blueberries, mango and raspberries would work the best.
I’ve also re-tested this recipe using frozen fruit. Just thaw the fruit completely, blend the fruit and the juice it thaws with and continue with the recipe.
- Fresh strawberries (or apples, blueberries, raspberries, mango)
- Juice of ½ to a full lemon
- Sweetener of choice to taste (honey, xylitol, stevia, agave etc.)
- Fill your blender or food processor with however much fruit you want to use. (I filled up my Blendtec till it was almost full).
- Blend until its a puree.
- Put the puree in a pot and simmer over the stove until it resembles a thick applesauce. This will take a while, and will reduce by about half.
- Stir about every 10 minutes or so.
- Spread the mixture on a cookie sheet lined with parchment paper or a silipat. (If you do a bigger batch like I did, you'll probably have enough to do at least 2 cookie sheets.)
- Spread the mixture in a very thin layer covering almost all of the parchment paper.
- Allow to dry in the oven at 170 degrees F for approx 3 hours. If not done (you can tell as its still saucy, and not peel-able), cook for longer.
- I cut into strips and re-roll into fresh parchment paper, or leave some as sticks.
- Store in an airtight container at room temp. I'd suggest moving to the fridge if not consumed in a few days.


