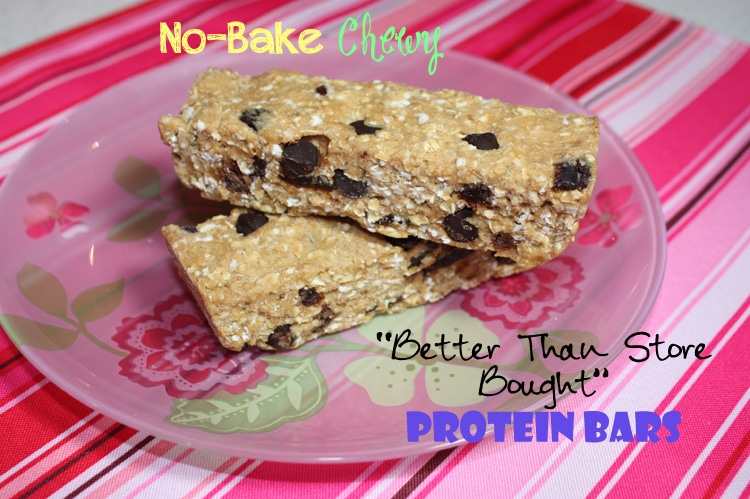

Simple…and delicious. That’s the best way to describe these No-Bake Chewy “Better Than Store Bought” Protein Bars. I gave my husband one for work. That night, he came home and said, “Those protein bars were so good! Better than the store-bought ones”, hence the name. They are pretty mammoth sized bars, so 1 would definitely fill up an adult. They could easily replace a meal.

If you prefer, you could make 12 bars out of this recipe, and cut the nutritional info in half. If you prefer to make 12 bars, press the mixture into a 8×8 or 9×9 square pan instead. I frequently double the recipe and press into a 9×13 pan.

However you decide to split them up, it doesn’t really matter. They are delicious any way you cut them 🙂
The kids version of these bars are the No-Bake Kids Protein Bars.
- 1½ cups whey protein, vanilla ( I used Whey Gourmet Naturelle Vanilla)
- ⅓ cup + 1 Tbsp natural smooth peanut butter (or almond butter, or Sunbutter for nut-free)
- 1½ cups quick oats
- 3 Tbsp honey (I used Nature's Hollow Sugar-Free Honey its a honey substitute made with xylitol) Could also use regular honey, nutrition will change
- 3 Tbsp semi-sweet chocolate chips
- 3 Tbsp raisins
- 20 drops stevia (could omit, but I like the extra sweetness. I used NuNaturals Vanilla Stevia)
- ⅓ cup + 1 Tbsp unsweetened almond milk (or milk of choice)
- In a large bowl, place in all ingredients (except milk) and stir together.
- Add in milk and stir or combine with hands. Mixture will be very sticky.
- TIP: If you have a stand mixer, throw everything in and use the dough hook attachment to combine it together. This will save your arms from getting tired.
- Lightly spray a loaf pan and press mixture firmly into the pan using a sheet of plastic wrap over top to avoid the mixture from sticking to your hands. If you're making 12 bars, press into an 8x8 square pan.
- Place in the fridge for 30 minutes to an hour to firm them up. They will become less sticky once they are cold. Cut into bars.
- If you like, you can take each bar out and place in a small plastic bag and store in the freezer or fridge for grab-and-go. If coming out of the freezer, I like mine thawed out for about 5-10 minutes before eating. Bars can also be stored in the fridge and consumed in about a week.